

What you need for this project:
1 yrd. any color broadcloth
sewing machine
iron
coordinating thread
iron-on transfer paper
1 piece felt
scissors
1. Begin with 1 yard of broadcloth. Broadcloth is a lighter weight material in plain colors, perfect for project such as this. Other quilting fabrics run in the range of $6-9 a yard wheras broadcloth is only about $3 a yard!
Lay the material out and fold length-wise. Along the unfolded side, eye-ball a curve. You want the top of the cape to be a kind of "neck," as you will see from the following pictues. When you have cut out the curve, trim approximately 8 inches from the entire bottom of the cape. You can make this longer or shorter depending on the size of the child.

2. Once you have the desired length, you will hem the entire piece of material with a double-fold hem in coordinating thread, EXCEPT for the top "neck" part of the cape.

3. Now you finish the top of the cape. This will also be a double-folded hem, but you need to make this one larger (fold it over approximately 3 inches) and sew on the very bottom. You will be slipping a ribbon-sized piece through it. (Sorry no pictures for this step)
4. Now to work on the ribbon. An easy way to do this step is to simply use ribbon or double-fold biase tape. But, since I did not have any of that, I simply made my own using the material I took off the bottom of the length! Cut a piece of material about 4 inches x the length of the yard. Fold material in hald length-wise and iron to make an ironed line.....then open.

5. Open the piece up length-wise and then fold each side in towards the middle fold. Iron down. Once finished, fold in half and sew down. You will now have a piece of material that looks like a ribbon with finished edges.

6. Feed your ribbon through the neck piece of the cape and tie. This automatically gathers the top of the cape and can be adjusted for length around the child's neck.
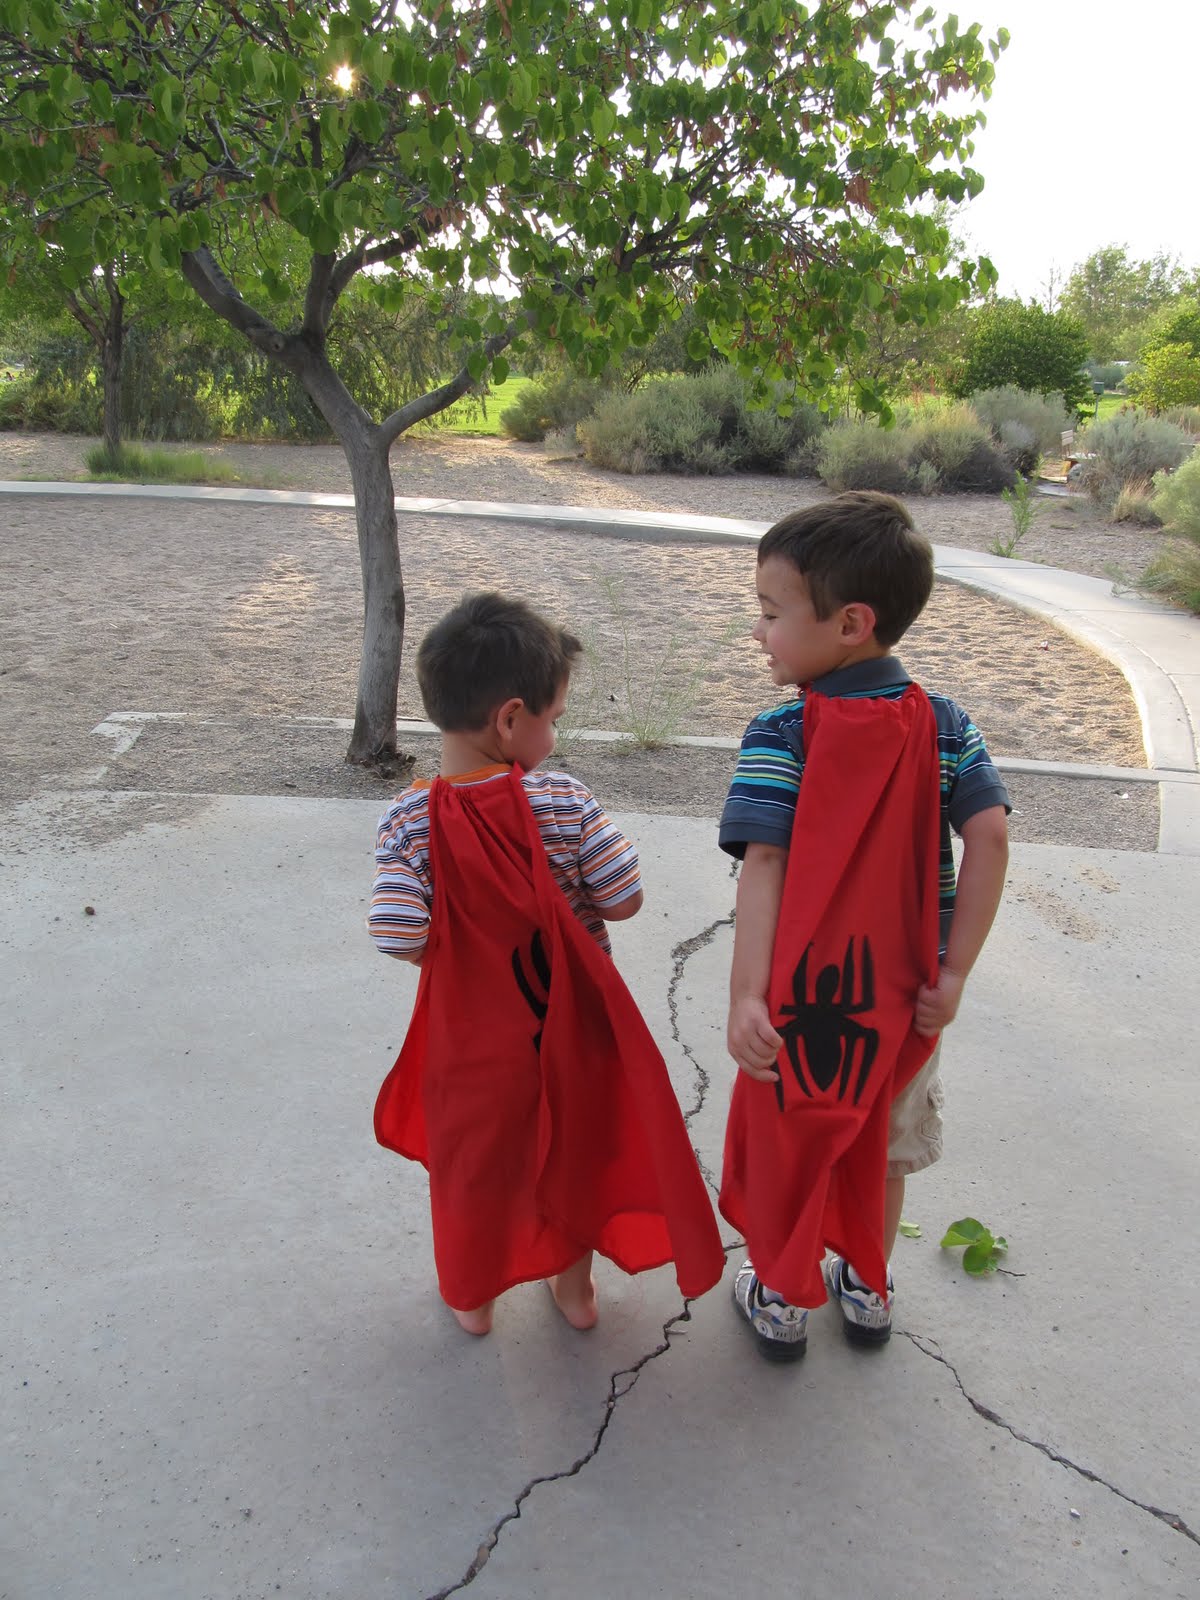
7. Now for the decorative backing. I found a spider symbol on the internet and printed it out. Lay the printed symbol on your felt and pin into place, then cut out both the felt and the paper simultaneously.
Take out the pins and take the paper symbol and place it on the iron-on transfer paper. Trace with pencil onto the transfer paper and then cut out INSIDE the lines (so the symbol on the transfer paper is just slightly smaller than your felt symbol.)
Iron transfer paper onto the symbol, being careful to line it up as closely as possible.

8. Remove the paper backing and iron onto the back of the cape.

9. Now you will applique your symbol to the cape. I used red thread because the contrast looked really cool!

P.S. Even little girls love these capes....I am thinking a pink one with a "Supergirl" symbol for Christmas!

Enjoy and let me know if you made this project! It might be my favorite thing so far!
No comments:
Post a Comment